


If you are looking for a cheap and easy woman’s Halloween
costume accessory that is easy to make, this Halloween Gothic Themed hat is so
fun to make. My daughter wanted a lightweight
and easy to wear gothic styled hat. Her
budget was around $10. So we went to the
local dollar store Halloween costume department to see what would work. They had some great pieces, which we put
together to create this hat. We started with this cool hat blank we got at the dollar store.
Materials
Purchased:
- Felt Hat
- ·
Spider web patterned fabric square

- ·
Decorative Halloween Cape

- ·
Floral spray with Plastic Spider (you can also
find similar items separately at your local dollar store or Craft store)


Supplies Needed:
- · Glue gun
- · Glue
- · Scissors
- · Black Thread
- · Needle
- · Long nose pliers
- · Wire cutters

Step 1:
Remove all the decorations from the hat. If you have any residue left on the hat from
the glue, just pop the hat into the freezer for an hour. Then scrape off the glue.
Step 2:
To create the veil, using the needle and thread, loosely
gather one end of the spider web fabric square.
Then pin it onto the front brim of the hat. Once you lay it out and like the way it
looks, you can either tack it down with a needle and thread or glue it down
with a hot glue gun. It is all a matter
of preference.
Step 3:
Cut the cape in half, lengthwise so you end with a nice long
piece. Then either glue or sew this
piece onto the crown (the area just above the brim) of the hat.
Step 4:
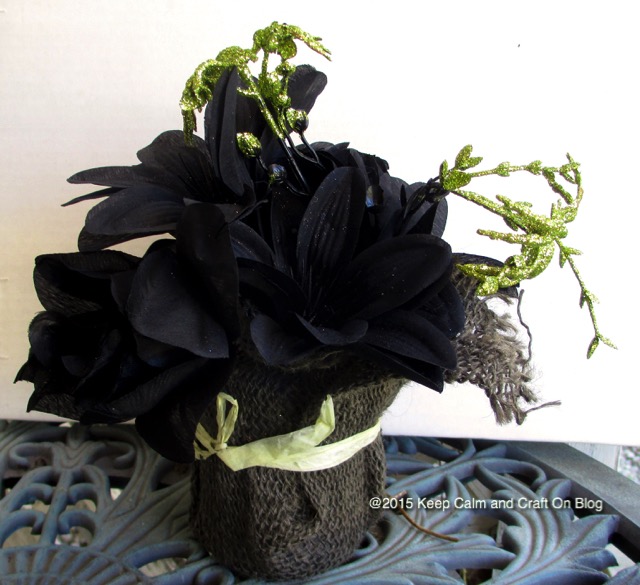
Attach the flowers using a glue gun (or sew them) to one
side of hat brim.

Step 5:
To finish just adhere the glitter spiders* to the hat. (If you cannot find any glitter spiders, they
are pretty easy to make. You just put craft glue onto some plastic spiders and
cover them with glitter. )
Since we already have an abundance of crafting supplies in
our house. We only needed to spend a
total of $6 (including tax) to make this hat and she got to personalize the hat to reflect her
own vision. I highly recommend checking
out your local dollar stores for accessories to personalize your own costume pieces.

